[Finale] Customizing the "Default Document" to your liking
- tarokoike

- Nov 9, 2023
- 3 min read
When creating a new score in Finale, the simplest and most basic method is to create it from a "Default Document."

The Default Document can be easily customized by the user, and the Finale User Manual recommends doing so.
When customizing it, edit the following files.
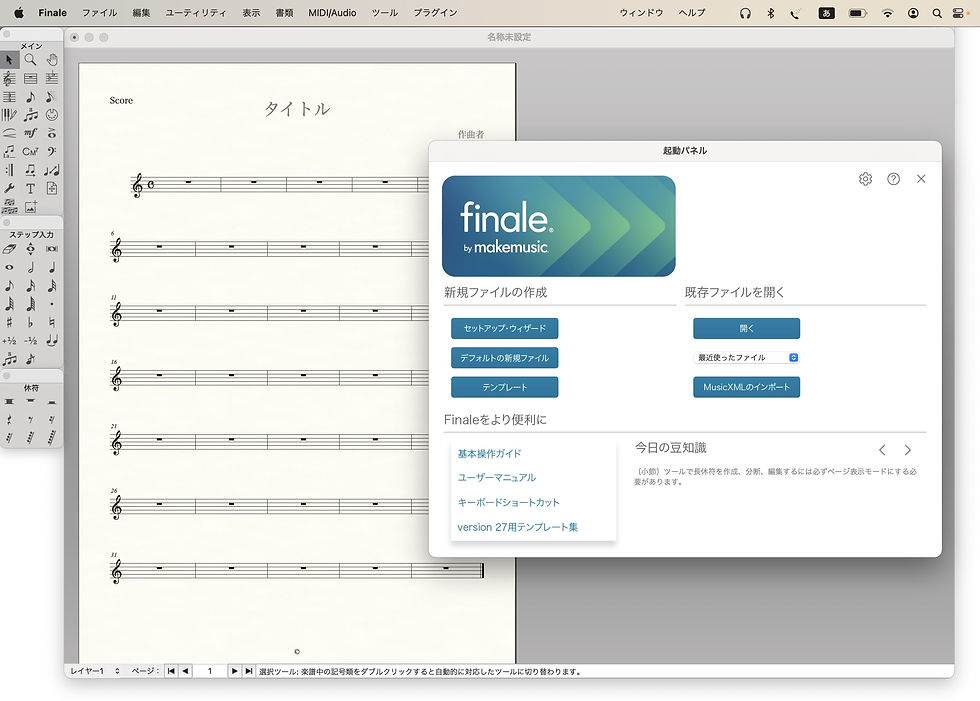
[For Finale v27 for Mac]
Macintosh HD/Users/(username)/Library/Application Support/MakeMusic/Finale 27/Music Files/Default Files/Kousaku Font Default.musx

[For Finale v27 for Windows]
C:\Users\(username)\AppData\Roaming\MakeMusic\Finale 27\Music Files\Default Files\Kousaku Font Default.ftmx
(In the case of Windows, the AppData folder is invisible, so before proceeding, change the setting to display invisible files on the Windows side.)

For example, the original "Default Document" has a left indent of 131 EVPU set in the first row, but if you think this is unnecessary, you can cancel it in the "Kousaku Font Default" file. You no longer have to clear this with the Page Layout Tool every time you open a "Default Document".

You can also turn off the “Display Rests in Empty Measures'' feature in the Staff Tool if it is not needed.

If you have libraries that you use frequently, you can load it in the "Kousaku Font Default" file to save you the trouble of loading the same libraries every time.

For Mac, you can apply Finale's "Master Tool Palette" feature to select various tools with shortcuts.

Due to the specifications, this can only be applied to the currently open file, but if you apply it to the "Kousaku Font Default" file, you will be able to use it in all new files created from "Default Document".
ーーーーー
Once you have finished editing the "Kousaku Font Default" file, save it.
Note that the "Default Document" is the most basic file in Finale, so when a problem occurs, it can be compared to verify whether the problem is specific to a particular file or whether it occurs with all files.
Therefore, the user manual instructs you to overwrite and save after customizing "Kousaku Font Default", but instead of overwriting, we recommend to save it with a new name and be sure to leave the original "Kousaku Font Default".
For Mac, just save it as a regular .musx file. For Windows, save as a Finale Template File (.ftmx).

For the file name, it may be easier to understand by adding a 6-digit number of the creation date to the end, such as "Kousaku Font Default_231108".
Place the saved "Kousaku Font Default" file in the same hierarchy as the original file.
[For Finale v27 for Mac]
Macintosh HD/Users/(username)/Library/Application Support/MakeMusic/Finale 27/Music Files/Default Files/Kousaku Font Default.musx

[For Finale v27 for Windows]
C:\Users\(Username)\AppData\Roaming\MakeMusic\Finale 27\Music Files\Default Files\Kousaku Font Default.ftmx

After saving it with a new name, go to the "Preferences > New", enter the file name in the "Default Document" field, and click the OK button. Now you can easily switch the "Default Document" from the original one to your customized one.

For Mac, this menu is located in "Finale Menu > Preferences > New".

Click the OK button and select "Default Document" from the launch panel to open your customized one.

If you want to go back to the original "Kousaku Font Default", simply delete "_231108" in the "Default file name" field, change it to "Kousaku Font Default", and click the OK button. Then the original "Default Document" will be opened next time.
ーーーーー
As you can see, the "Default Document" is essentially a type of template, and can be configured and edited just like any other .musx file.
There can be other customization settings, the following ones are few examples out of many.
Reduce the system margin above the first row from the original 454 EVPU to around 300 EVPU. (This allows you to increase the number of columns placed on the first page. Along with this, in the "Frame Attribute Dialog Box", set the vertical position of the "Composer" text box to about -125 EVPU to move it up a little.)
Fit the number of measures per row to 4 measures. (Use "Utility Menu > Fit Measure".)
Make a “4/4” time signature written as "4/4" instead of "C". (Uncheck "Abbreviate Common Time to" in "Document Menu > File Options > Time Signatures".)
Display measure numbers for all measures. (In the Measure Number dialog box, enter a value and check "Show on every X measures.")
Add or delete measures. (For example, change this to 40 measures using "Edit Menu > Insert Measure Stack".)
If you apply all of the above mentioned, you will get a "Default Document" like this.

This is just one example, so I think it's a good idea to try out various options and find one that suits your needs.
